One of the most effective ways to enhance our on-page SEO is by Optimizing Images on our site.
How to Optimize Images for Search Engine Optimization
Images Help Us Prove to Google Who We Are, What We Do, and Where We Do It.
Steps for Optimization
- Correct Dimensions
- Geo-Tag the Image
- Add the NAP info to the Properties
- Set File name correctly
- Upload image to the site
- Set Alternate Tags
- Repeat for GMB + Other Properties
Example Photo in Video

Image Naming Conventions
Image Naming Conventions
In two of our other trainings (GMB Spy and Finding Qualifying Keywords), we discussed how you can identify keywords for which you want to rank. This is especially true for GMB Categories, as for local businesses- those keywords are absolute gold mines if you can rank for your primary and secondary categories in the desired target locations.
We can use our images to help us with that. The first way that we're going to do that is with our naming convention. Our images should be named with a desired keyword and target location. At a minimum, this needs to cover our Primary and ALL Secondary GMB categories. If we have enough room, or we have supplemental pages that are ranking, we can start to use additional qualifying keywords in our image file names.
The general equation is as follows:
{Keyword}-{Location}.jpg (where keyword is either a GMB category or qualifying keyword)
Let's Find Our GMB Categories
Let's take an example from a Lawn Care Company (Landscaper) near me. Using our GMB Spy tool, we see that they have the following GMB Categories:
- Lawn care service (Primary)
- Garden
- Gardener
- Landscape architect
- Landscape designer
- Landscaper
- Lawn sprinkler system contractor
- Mulch supplier
- Tree service

Not to stray from the topic of this post, but I would start by reducing the number of categories by eliminating Garden, Gardener, and potentially Mulch Supplier and/or Tree Service. That's why they appear struck out in the list above. I like to max out around 5 total categories, plus I would prioritize them by the order of services that I really wanted to promote.

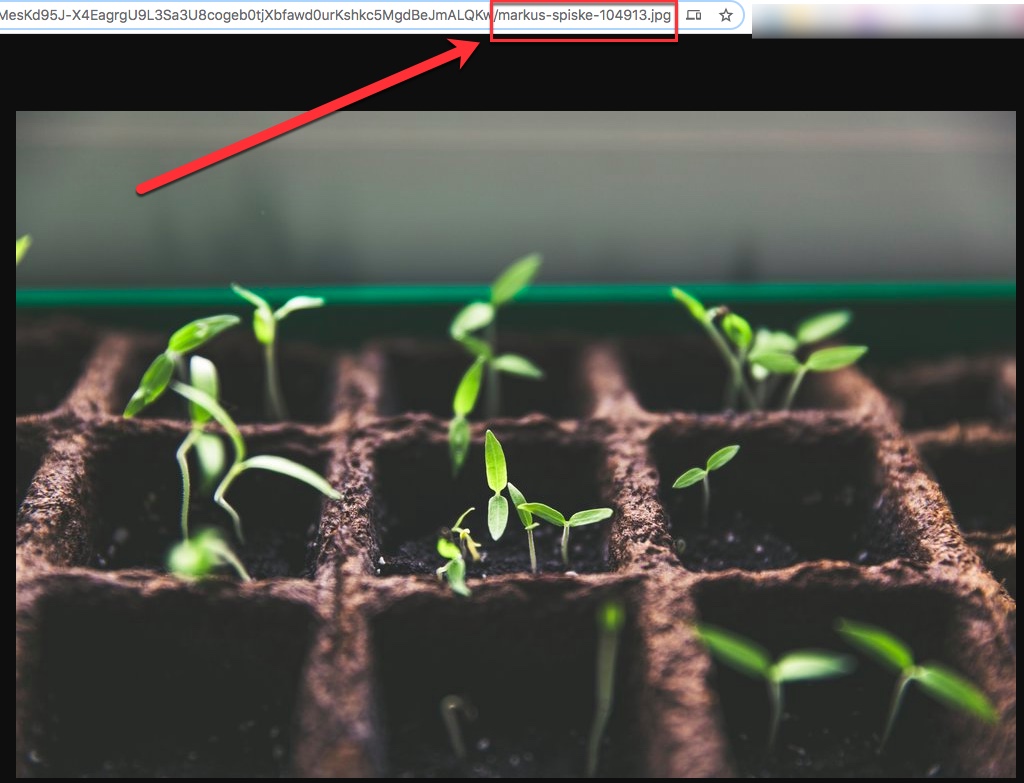
See the associated screenshot which shows an image from their site. You'll see that the file name of the image is "markus-spiske-104913.jpg". Ideally, that file name should be "Lawn-Care-Service-Athens-GA.jpg".
If we were going to keep the before-mentioned GMB Categories, then we would want to have additional images on their page with the following file names:
- landscape-architect-clarke-county-ga.jpg (County that Athens is in)
- landscape-designer-oconee-county-ga.jpg (Adjoining county to target)
- landscaper-athens-georgia.jpg
- lawn-sprinkler-system-contractor-30605.jpg (zip code of their GMB listing)
(Files types with these crazy naming conventions are commonly found on the drag/drop website builders. Another example of why you should never use square space or similar builders - note the lack of ranking in the top 100 results in Google for either of their main GMB categories... This site is built in square space.)


Compressing Image Sizes
What Will the Image Be Used For?
In deciding how large you need your image to be, consider what it will be used for on your site. If it's going to occupy a large parallax background, then you may not be able to shrink the size very much. However, many images are often times MUCH larger than the designer loads them on the page.
For instance, if you're going to load an image to be 550 x 300 px, then let's actually resize the image to those dimensions. Instead, web designers are sometimes lazy and will take an image that is really 1100 x 600 and simply set the width and height parameters. The down side to that is that you're actually loading an image that is twice the size that you actually need!
Another example of bloated image sizes is in the DPI (Dots Per Inch) of the image. This is a printing term and refers to how many (printer) Dots Per Inch are in the picture. Said differently, it's how "high-definition" the image is... A print ready image will have a DPI of 300, while web-images should only be at 72.
By utilizing Photoshop (or other image editing software), you can both reduce the DPI and the dimensions of the images to get them down to a size that you actually need. This will prevent over-sized images from slowing down the loading speeds of your pages.
Compression and EXIF Data
Note that we are going to be talking about how we can Geo-Tag the meta data of images. (It's technically called EXIF data- but that doesn't matter for this conversation.)
If you use software to compress your images on your site, it will almost certainly strip out the EXIF data as one of its techniques of reducing the file size. We recommend avoid that on the images where you have geo-tagged specific information.
Does this image need to be this large? Click to see full size.

Geo-Tagging Images
EXIF Data in Images
EXIF Data = Exchange Data File and basically refers to a picture's meta data. The easiest example to understand is to picture when go to vacation to New York City. A month later, you want to see all of yous pictures that you took in NYC, so you view the pictures by city on your iPhone or Android (assuming you had your location services enabled when taking the photos).
The way that the phone knows which pictures to include is by reading the data stamped into the images meta data. This includes the Latitude and Longitude of exactly where the phone was when the picture was taken.
And therein lies our opportunity. The same way your phone can read that data, so can Google. And what are we always trying to prove to Google? 3 Things:
- We are WHO we say we are.
- We do WHAT we say we do.
- We do it WHERE we say we do it.
See how the latitude and longitude would be a fantastic way for us to prove our general location to Google? The best news is- we can actually manipulate this data on any image we want. This allows us to use whichever image we'd like and stamp the lat/long coordinates of our desired target city or area.
It's an awesome way to differentiate yourself from both the competitors in the SERPs, as well as to your prospects and clients who have never heard of another online marketing offering that idea to them.
How to Geo-Tag Our Images
Use either of the tools below to set the desired latitude and longitude coordinates in your image. GeoSetter is a free software that you download to your machine and can make bulk images a much easier process, while GeoImgr is an online service that might be easier if you're only geo-tagging a few images.
Either way, use MetaPicz after you have embedded your images to make sure that you are uploading an image with adequate Geo-Tagged information associated with it.

Properties of the Image
A Perfect Place for Citations
If you've done our Local SEO training, then you've heard us talk about the importance of Citations and how they impact your ability to rank in the maps pack.
Citations are the rough equivalent to a backlink in the Organic SEO world. They can be the difference in getting ranked, or watching your competitor steal that traffic from the 3 pack.
Our images contain a properties tag that is a perfect spot for us to add some citation information. Note that we can't create line breaks within the Properties field, so we'll need to copy and paste the information from another content source (ex: notepad). The structure of the information should be as follows:
Sample Company, Inc
123 Main Street, Atlanta, GA 30328
404-567-7890
www.ExampleCo.Com
Before uploading your file to your website, right click on it and go to the Properties option. Then on the tab with the "Comments" field, copy/paste the applicable content.
Alternate Tags
Alternate Tags: I Once Was Blind But Now I See
Alternate tags were originally a browser function for the blind. Basically, since a blind person can't see the image, it was a way to tell the browser what the picture displayed and the browser could read (out-loud) that description to the visitor.
As it turned out, that information began getting more and more attention from the search engines. It provided a way for Google to better understand the image contents (long before the days of more modern AI). Therefore, it gives us a way to provide Google with whatever we want it to understand about the image.
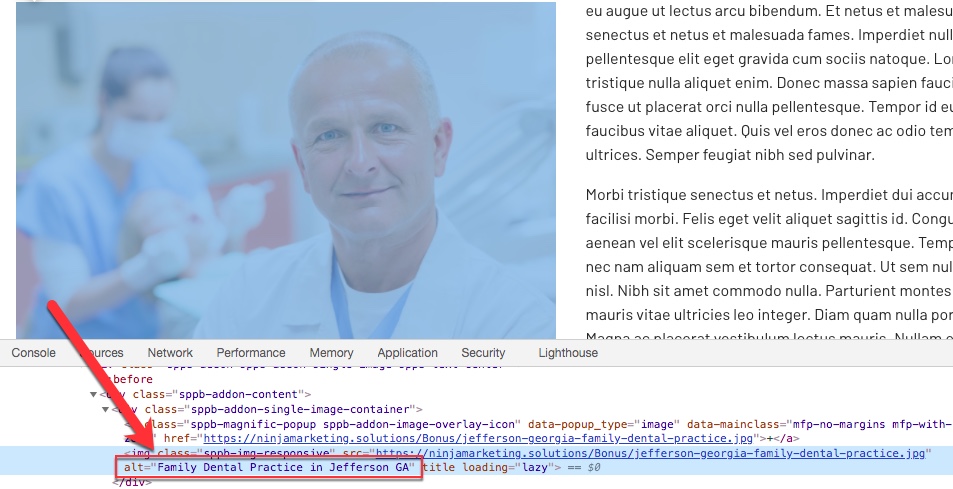
As you'd probably guess- we'll leverage that for SEO as well. We'll use an example that includes our keyword(s) and location(s) that we're trying to rank. An example might be
alt="Best Cosmetic Dentist in Atlanta, Georgia"
This is a way for us to use our qualifying keywords, primary GMB category, and location all within an image. If you're following the naming convention correctly, the alt tags will closely resemble the file names.

Images on GMB Listing
How Many Pictures Should We Add?
You already know the answer... The More, The Merrier!
In all seriousness, there are a few sets of three images that you should add:
- 3 pictures inside your office
- 3 pictures outside your office
- 3 pictures of services / products
- 3 pictures of team members / people
Note that these images should all follow the rules of what we've already laid out above:
- Proper Naming Convention that outlines the business / service / product + location
- Example: teeth-whitening-service-atlanta-georgia.jpg
- Geo-Tagged with lat/long coordinates
- Note: Google will strip these off after it renders into your GMB profile. That's okay- still upload it as the original that gets indexed by their server will have that one extra data point of proof
- Citation information in the Comments field of the Properties tab
- Business Name, Address, Phone Number, Website
Get your images categorized accordingly in whatever method best suits your liking, and then upload the prepared images to your Google Business Listing.
Images on Other Properties and Sites
Google Loves Google
Google Loves Google... Simple, right? Well, Google also loves other Google Properties. In a full-scale SEO plan, you should be using several Google properties for the site you're ranking. These would include YouTube, Google Calendar, Google sites, Google Drive, Google Docs/Sheets/Slides, etc.
For the purpose of this tutorial, you'll want to use Google Photos and a Public Google Drive for your images. Remember- Google isn't going to be eager to punish you for using Google Properties, so use these as much as you can!
Also make sure that when uploading your images to these properties that you are uploading the versions of the images that have been properly prepared and geo-tagged.
